Ok own up, who hasn’t taken their kit out of the bag at the start of the season, taken one look at it and wished you had given it a bit more TLC before stashing it away for the winter?
So often you don’t actually realise the last time you sailed at the end of a season is when your kit commonly gets stowed away at the back of the garage on the off-chance it might still get another outing that year.
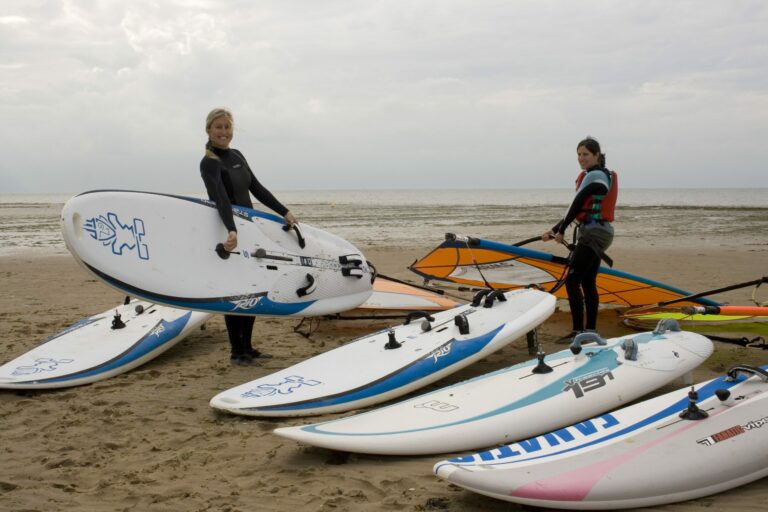
What that means is all too often boards and rigs hibernate all winter having had no final wash down, while sails are less than lovingly stored away and masts and booms dumped. It’s not just salt that does the damage; kit used on inland waters need as much love too.
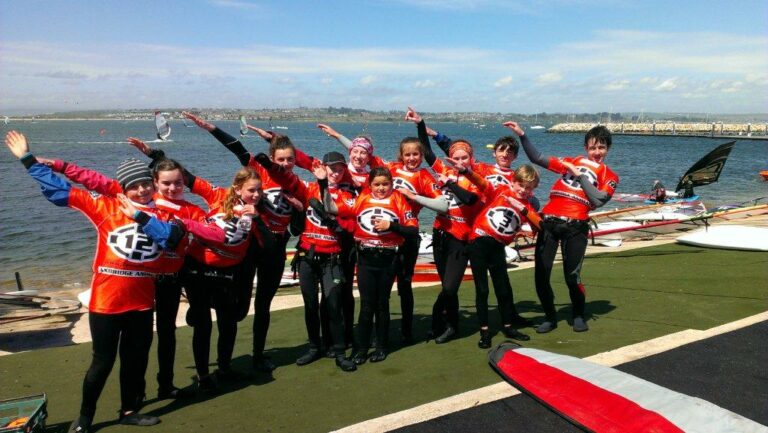
Sarah Cartwright is an RYA Windsurf Instructor, Race Coach and Team15 project support officer. She gives us the lowdown on what you should be looking out for when you’re thinking about getting out for the first blast of the season to blow off the cobwebs.
WHAT’S YOUR WETSUIT AND HARNESS LIKE – At the end of the season make sure it’s clean and dry before stashing it away, otherwise you’ve no idea how many holes or other nasties you may find before you go to use it for the first time
ROOF RACK CHECK – if you’re going cart your board around on the top of the car make sure the rack bars, screws and roof straps aren’t rusty and liable to give way at 70mph!
PRE-SEASON KIT MOT – make a checklist and go through at home to ensure everything is in good working order before you go afloat. By the time you’re at the water for the first time, if you do find something is broken or missing, it could be a wasted journey.
Any expense or effort expended now will be nothing in comparison to getting caught out if your kit breaks in the middle of a lake, or off a beach, and there’s no rescue cover or anyone around to help you.
How would you get yourself, your board, rig and sail safely back to shore in those circumstances? Bear in mind most breakages are likely to occur when there is a lot of pressure going through it, ie it’s windy! That’s not going to make getting ashore any easier. Not to mention the ribbing from your mates once you do make it back!
Checklist:1) Board
- Deck plate – check it’s in working order, still fits properly into the mast track and the mechanisms engage securely
- If you have a moving mast track check it’s clear
- Universal joint (UJ) – if it’s rubber this could deteriorate and becomes weaker over the winter. If it’s one with a hinge joint ensure they still have the rotation and movement required. If your UJ gives way when you’re afloat, the mast and board will come apart. Then you’re in trouble!
- Apply lubricant spray to the fin bolt and the threads in the fin, making sure it still fits properly. This applies to all fins you might use through the season
- Footstraps – ensure there’s no corrosion on the screws and they are fitted securely
- If using a daggerboard check the slot flushers to ensure they are still secure and in place
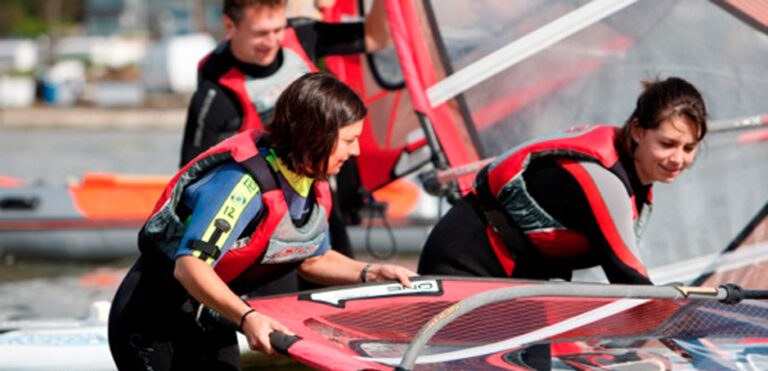
2) Sail / rig
- Mastfoot/Extension
- First thing to check is the pulleys for signs of rust or corrosion. If there are signs put it in warm soapy water whist checking the rest of your equipment
- Once soaked rinse it off and dry, removing any significant rust with a wire brush ensuring they have their full movement. If using lubricant ensure it doesn’t go onto the pulley directly as the rope won’t have anything to grip when applying downhaul
- Also check the cleats are clean and free of corrosion
- Ensure the UJ release lever/button is moving freely and the cleats are clear
- If using an extension, ensure you can easily adjust its length and lock in place, ensuring the bottom of your mast is clean and clear to allow your mast or mast foot to fit in easily
- Ropes – they may look ok when you first get them out but if they have dried out over the winter they are likely to be more prone to fraying. If in doubt it’s worth changing them for a few pounds rather than potentially having an accident!
- Harness lines – check the lines for signs of wear. It’s also important to check the velcro and webbing, which attaches it to the boom
- Boom – check the boom clamp and rope are working okay and the length of the boom can be easily adjusted.
- Uphaul – it’s essential it’s attached securely and not showing signs of wear
3) Kit bag/Tool Box – have you got the screwdrivers you need, your easy rig, knife and a way to burn the ends of the rope? Have you got the spares and tools for things you’re most likely to need?
Don’t be lulled into a false sense of security with any of this – your kit may look ok at the start of the season but a winter of corrosion and unattended wear and tear is inevitably going to have caused bits to weaken. Keep an eye throughout the season and if something is starting to look a bit tired replace it or at least make sure you have a spare.
Prevention is always better than cure so at the end of a session give your kit the attention it deserves for having given you an awesome time on the water! After every season give everything a once over to save yourself time, ensuring everything is put away clean and dry, making a list of what needs or may need replacing soon. That way come the start of the following season, getting out on the water for the first time will be a lot smoother!