Small onboard video cameras has become the norm for most windsurfers as we all try to capture the very best of ourselves on the water. Gone are the days of relying on a loved one to film from the shore, now it’s all on you, so here are some tips to get the very best results from BOARDS and Boardseekermag.com camera man, Alfie Hart.
 The mounts
Firstly, you’ll need a good mount for your waterproof camera and the multi-purpose Flymount is a useful tool. It allows you to attach the camera to any part of the boom or mast and is relatively small and light. Another product on the market is the Masthero, possibly the lightest in design.
Customising your mount can sometimes be the only way to get the shot you want and duck tape works well, mixed in with a little creativity. Another good option is the K4 harness mount, it is the only mount for chase footage; however, you’ll have to drill a couple of holes in a waist harness to set it up.
Where and which angle?
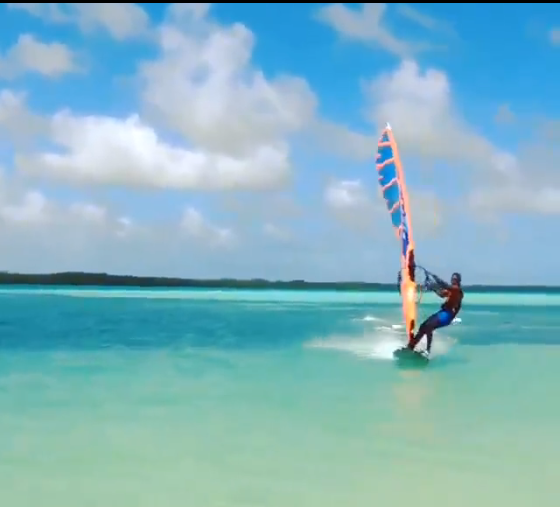
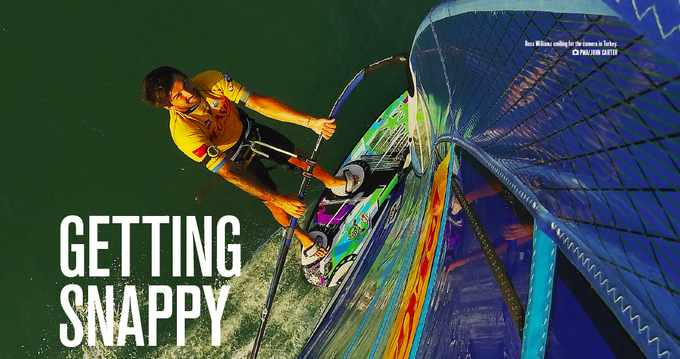
Mast mounts are great for showing speed, gybing, beautiful water colours and tricks. You need to check the set-up of your camera (the standard setting is usually wide angle 130°), positioning the mount roughly a metre from the mast tip will keep all of the board and rider in shot.
The boom offers better options for getting a perspective of your surroundings. Positioning the mount next to the boom clamp and aiming it at the centre of the harness lines will give you a great view of the rider, facial expressions and water state behind, so seeing all the spray and wake. This position is also good for keeping spray off the lens, so you will generally get a clean image.
Mounting your camera on the clew of the boom, facing down the inside of the boom will give you a great shot of the sail and the rider working. This shot is also good for a sense of speed, but can gather a lot of spray.
A useful tip for keeping your lens droplet free is to cover your water-housing lens with washing up liquid the night before using it, then give it a light buff up before use.
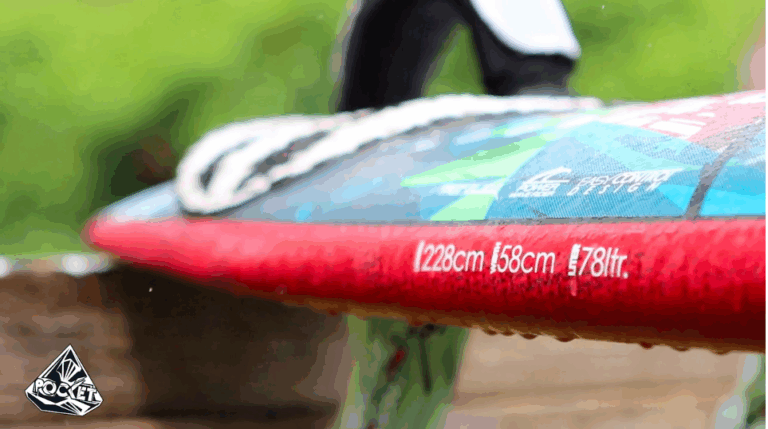
A unique shot is the board mount and some custom boards even include a fitting on the nose for this purpose. The simplest way to connect the camera to the nose is to duct tape a flat plate with the camera-mount fitting attached. This position gives you a great shot looking back, down the board, or pointing forward with the nose of the board in the foreground of the frame. The downside with this mount is, in choppy water the footage tends to be not as good, but in really flat water it can be an awesome shot.
Now for the classic onboard mount: the headcam. The main tip for getting good results with this is to angle the camera downwards more than you might think because you want the resulting footage to clearly show the water and nose of the board. Getting a part of the board in the frame is a general rule of thumb for good results. Also, chasing other windsurfers with the headcam can get good results; although, you have to sail very close together, so be ready for evasive action if someone crashes.
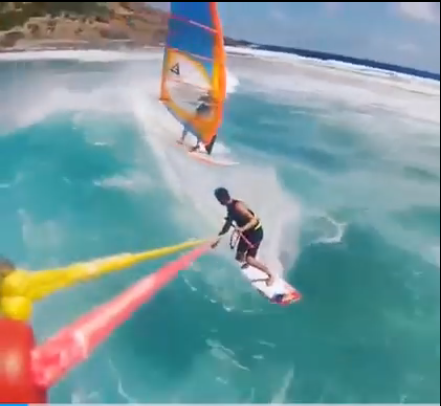
Finally the K4 harness mount gives you the option to get the holy grail of onboard-action footage: chase view. This mount is definitely the best for all-round footage, gives you perspective, scenery, water colour, plus it clearly shows action/tricks and the sense of speed.
If you’re planning on making a video clip of the session, it’s worth getting footage from at least two or three potential mount positions. When you come to edit, it will be a lot easier to make your film more interesting. The mounts described here are just a few of many options, so try filming any angles that come to mind – you never know what kind of great shot might come of it.

